I was sitting on my living room floor yesterday, surrounded by scraps of colorful washi paper for a new origami crane, when I caught sight of it: a jagged, unsightly crater right in the middle of my favorite accent wall. My heart sank for a second, thinking I’d have to call in a professional or, heaven forbid, live with that unsettling imperfection forever. But then I had a little epiphany—searching for how to repair a dry wall hole isn’t just about fixing a house; it’s actually a wonderful metaphor for how we mend our own little setbacks. Just like a piece of paper that needs a careful fold to find its shape, a wall just needs a bit of patience and the right touch to become whole again.
Don’t let a little drywall damage dampen your spirits or make you feel like your home is falling apart! In this guide, I’m going to walk you through a simple, no-nonsense approach to fixing those pesky gaps without any of the overwhelming DIY stress. We’ll cover everything from choosing the right patch to achieving that perfectly smooth finish, ensuring you can find the joy in mending your space one step at a time.
Guide Overview
Tools & Supplies
- Putty knife (for applying compound)
- Sanding block (for smoothing surfaces)
- Utility knife (for cleaning edges)
- Spackling compound (1 small tub)
- Mesh adhesive patch (1 pack)
- Sandpaper (medium and fine grit)
- Touch-up paint (1 small can)
Step-by-Step Instructions
- 1. First things first, let’s gather our supplies! Think of this like prepping your workspace for a new origami project; you want everything within reach so you can stay in the flow state. You’ll need some joint compound, a putty knife, a bit of sandpaper (medium and fine grit), and a drywall patch—or even some mesh tape if you’re feeling extra crafty. Having your tools ready helps prevent that pesky “decision fatigue” from creeping in!
- 2. Before we start smoothing things over, we need to clear the way. Use your putty knife to gently scrape away any loose bits of paper or crumbling plaster around the edges of the hole. We want a clean slate to work with, much like clearing your mind before a meditation session. If the edges are jagged, just give them a light sanding so they lay flat against the wall.
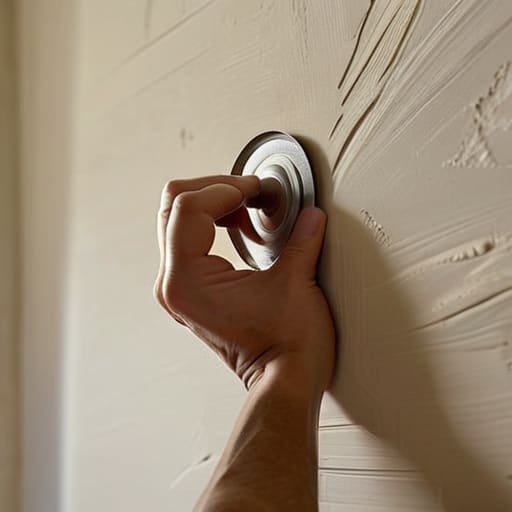
- 3. Now, let’s apply our patch! If you’re using an adhesive mesh patch, center it over the hole and press it firmly into place. If it’s a larger gap, you might need to be a bit more intentional with your placement. Think of the patch as the foundation of your repair; it needs to be sturdy so the rest of the process can unfold beautifully.
- 4. Time to get a little messy with the joint compound! Scoop up a small amount on your putty knife and spread it over the patch. The trick here is to use long, smooth strokes. Don’t try to make it perfect in one go—that would be like trying to fold a complex crane on your first try! Aim for a thin, even layer that covers the patch and feathers out slightly into the surrounding wall.
- 5. Once that first layer is dry (and patience is a wonderful virtue!), you’ll likely notice some bumps or ridges. Don’t let that ruffle your feathers! Simply take your medium-grit sandpaper and lightly sand the area until it feels smooth to the touch. After that, apply a second, even thinner layer of compound to fill in any remaining imperfections. This layering technique is the secret to a seamless finish.
- 6. After your final layer has dried completely, it’s time for the “polishing” phase. Use your fine-grit sandpaper to buff the area until it’s as smooth as a calm sea on a summer morning. You want the transition between the patch and the wall to be so subtle that it’s almost imperceptible. This is where all your mindful effort truly pays off!
- 7. Finally, we bring the color back to our world! Once you’ve wiped away all the fine white dust with a damp cloth, you’re ready to prime and paint. A little bit of color can work wonders for your environment, helping to restore the harmony of your room. Stand back, take a deep breath, and admire the beautiful work you’ve done—you didn’t just fix a wall, you nurtured your space!
Choosing Your Spackle for Wall Repairs With Whimsy
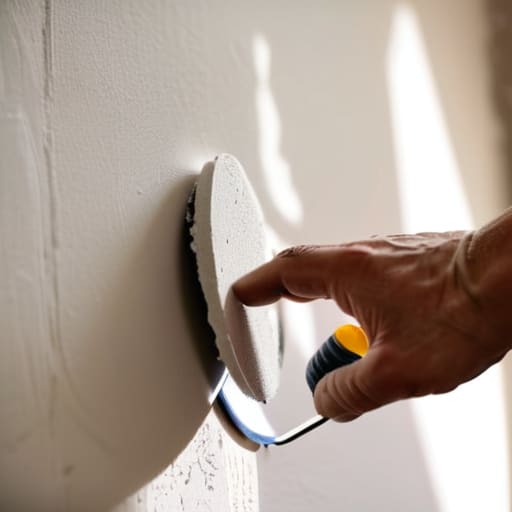
Now, before you dive into the actual mending, let’s talk about your “emotional support” materials! Choosing the right spackle for wall repairs is a bit like choosing the right mindfulness technique; you want something that fits the specific energy of the situation. If you’re dealing with a tiny little nick—maybe from a rogue moving box or a particularly enthusiastic houseplant—a simple drywall patch kit for small holes is your best friend. These kits are like a warm hug for your walls, offering everything you need in one tidy little package without any unnecessary fuss.
However, if you’re facing a larger gap, you might need to step up your game and learn how to use joint compound for a more robust fix. It’s a bit more involved, much like mastering a complex origami crane, but the results are so rewarding! Just a quick heads-up: if you find yourself fixing holes in plaster vs drywall, keep in mind that plaster can be a bit more temperamental and “moody” than your standard drywall. Treat it with a little extra patience and grace, and I promise your walls will be feeling much more “whole” in no time!
Mastering the Art of Drywall Mesh Tape Application
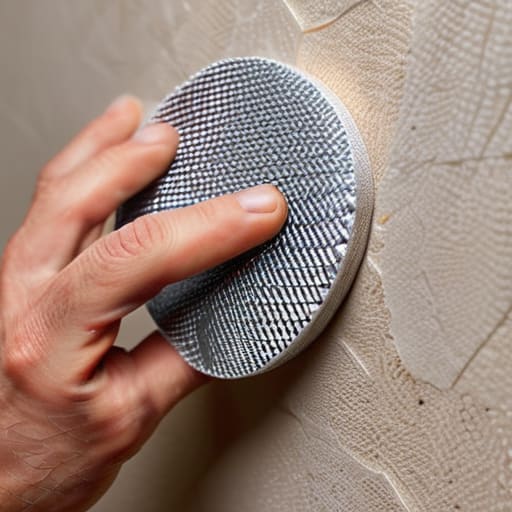
Now, let’s talk about the backbone of your repair: the drywall mesh tape application. Think of this step like the structural folds in a complex origami crane; if the foundation isn’t steady, the whole piece might lose its shape! When you’re working on a larger gap, applying this mesh over the hole provides the essential reinforcement needed to prevent future cracks. It’s all about creating a bridge that holds everything together, much like how a strong support system helps us navigate life’s little bumps.
As you press the tape into place, try to keep your movements intentional and calm. If you find yourself feeling a bit frazzled, just take a deep breath and remember that patience is a virtue in both home improvement and personal growth. Once your tape is snugly seated, you’ll be perfectly prepared for the next phase: learning how to use joint compound to build up those layers. It’s a bit like layering colors on a canvas—each pass brings you closer to a seamless, beautiful finish that will make your walls feel whole again!
Five Little Secrets to a Smooth and Stress-Free Finish
- Embrace the “Slow and Steady” Philosophy: Just like practicing a complex origami crane, rushing the process can lead to messy edges. Apply your spackle in thin, gentle layers rather than one giant glob; it’s much easier on your spirit (and your walls!) to build up the surface gradually.
- Sanding is Your Moment of Mindfulness: I know, I know, the dust can be a bit daunting, but try to view sanding as a meditative practice. Use a fine-grit sandpaper and light, circular motions to smooth out those bumps—it’s a wonderful way to find your flow while bringing harmony back to your room.
- Don’t Forget to “Cleanse” the Area: Before you dive into the repairs, take a moment to wipe away any loose dust or debris from around the hole. Think of it as a little mental reset for your workspace; a clean surface ensures your new patch adheres perfectly, much like a clear mind helps us stay grounded.
- The Magic of the “Feathered Edge”: When you’re applying your compound, try to spread it slightly wider than the hole itself, tapering the edges out until they are almost invisible. We call this “feathering,” and it’s the secret to making sure your repair doesn’t stand out like a sore thumb!
- Patience is a Virtue (and a Tool!): It can be so tempting to want to paint immediately, but let’s practice a little bit of self-regulation and wait for the patch to dry completely. Trying to cover it too soon is a recipe for frustration, and we’re all about cultivating those positive vibes today!
Smoothing Out the Edges
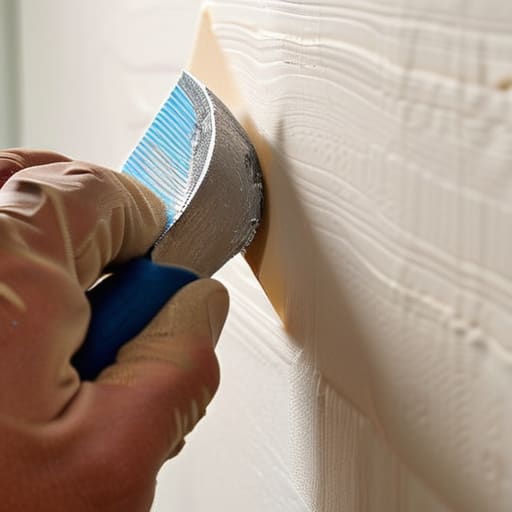
And just like that, we’ve reached the final fold of our little DIY journey! We’ve navigated through selecting the perfect spackle, mastered the delicate dance of applying mesh tape, and smoothed out those bumps to create a surface that’s as seamless as a fresh sheet of origami paper. Remember, the secret to a successful repair isn’t just about having the right tools; it’s about the patience and presence you bring to the task. By taking your time to sand gently and layer your compound thoughtfully, you haven’t just fixed a hole—you’ve practiced the art of mindful mending.
As you step back to admire your handiwork, I hope you realize that these little home repairs are a lot like our own personal growth. We all encounter unexpected “holes” or cracks in our lives that can feel a bit jarring at first. But just as you’ve transformed a damaged wall into something beautiful and whole again, you have the power to navigate life’s imperfections with grace. Don’t let a little dent in your day dampen your spirits; instead, see it as a wonderful opportunity to rebuild, refine, and rediscover the beauty in the mend. Keep shining, and keep finding joy in the little things!
Now, as you’re smoothing out those imperfections and finding your flow with the joint compound, don’t forget to take a little breather to appreciate how far you’ve come! Just like a complex origami crane requires patience at every fold, home repairs are all about the steady progress we make. If you find yourself feeling a bit overwhelmed by the solitude of a DIY project, sometimes the best way to recharge your social battery is to seek out some delightful company or explore the local vibrant energy through escorts sunshine coast to help you feel reconnected and refreshed. A little bit of human connection can be just the thing to keep your spirits high while you transform your space!